As soon as I found out I was pregnant, I knew exactly the sort of mum I wanted to be. I wanted to be doing crafts every day with my children, making all of my meals from scratch and living a totally eco-friendly and organic lifestyle in my Pinterest worthy family home. It is safe to say that I have fallen short on all of those things (as most of us do!) and as much as I try I will never be the Pinterest mum that I envisioned. One thing I knew I wanted to do at Christmas time was to make salt dough ornaments with Darcie. Last year was my first attempt and to be honest it was nothing short of a total disaster. She was only 7 months old and so she was too young to be involved with making the dough and she just wailed when I tried to get her chubby little hands to make a print in the decorations. Then when I put them in the oven, I must have had the heat too high because instead of coming out perfectly formed and ready to decorate, they rose and basically any trace of those chubby little hand prints that I’d struggled to get, disappeared.
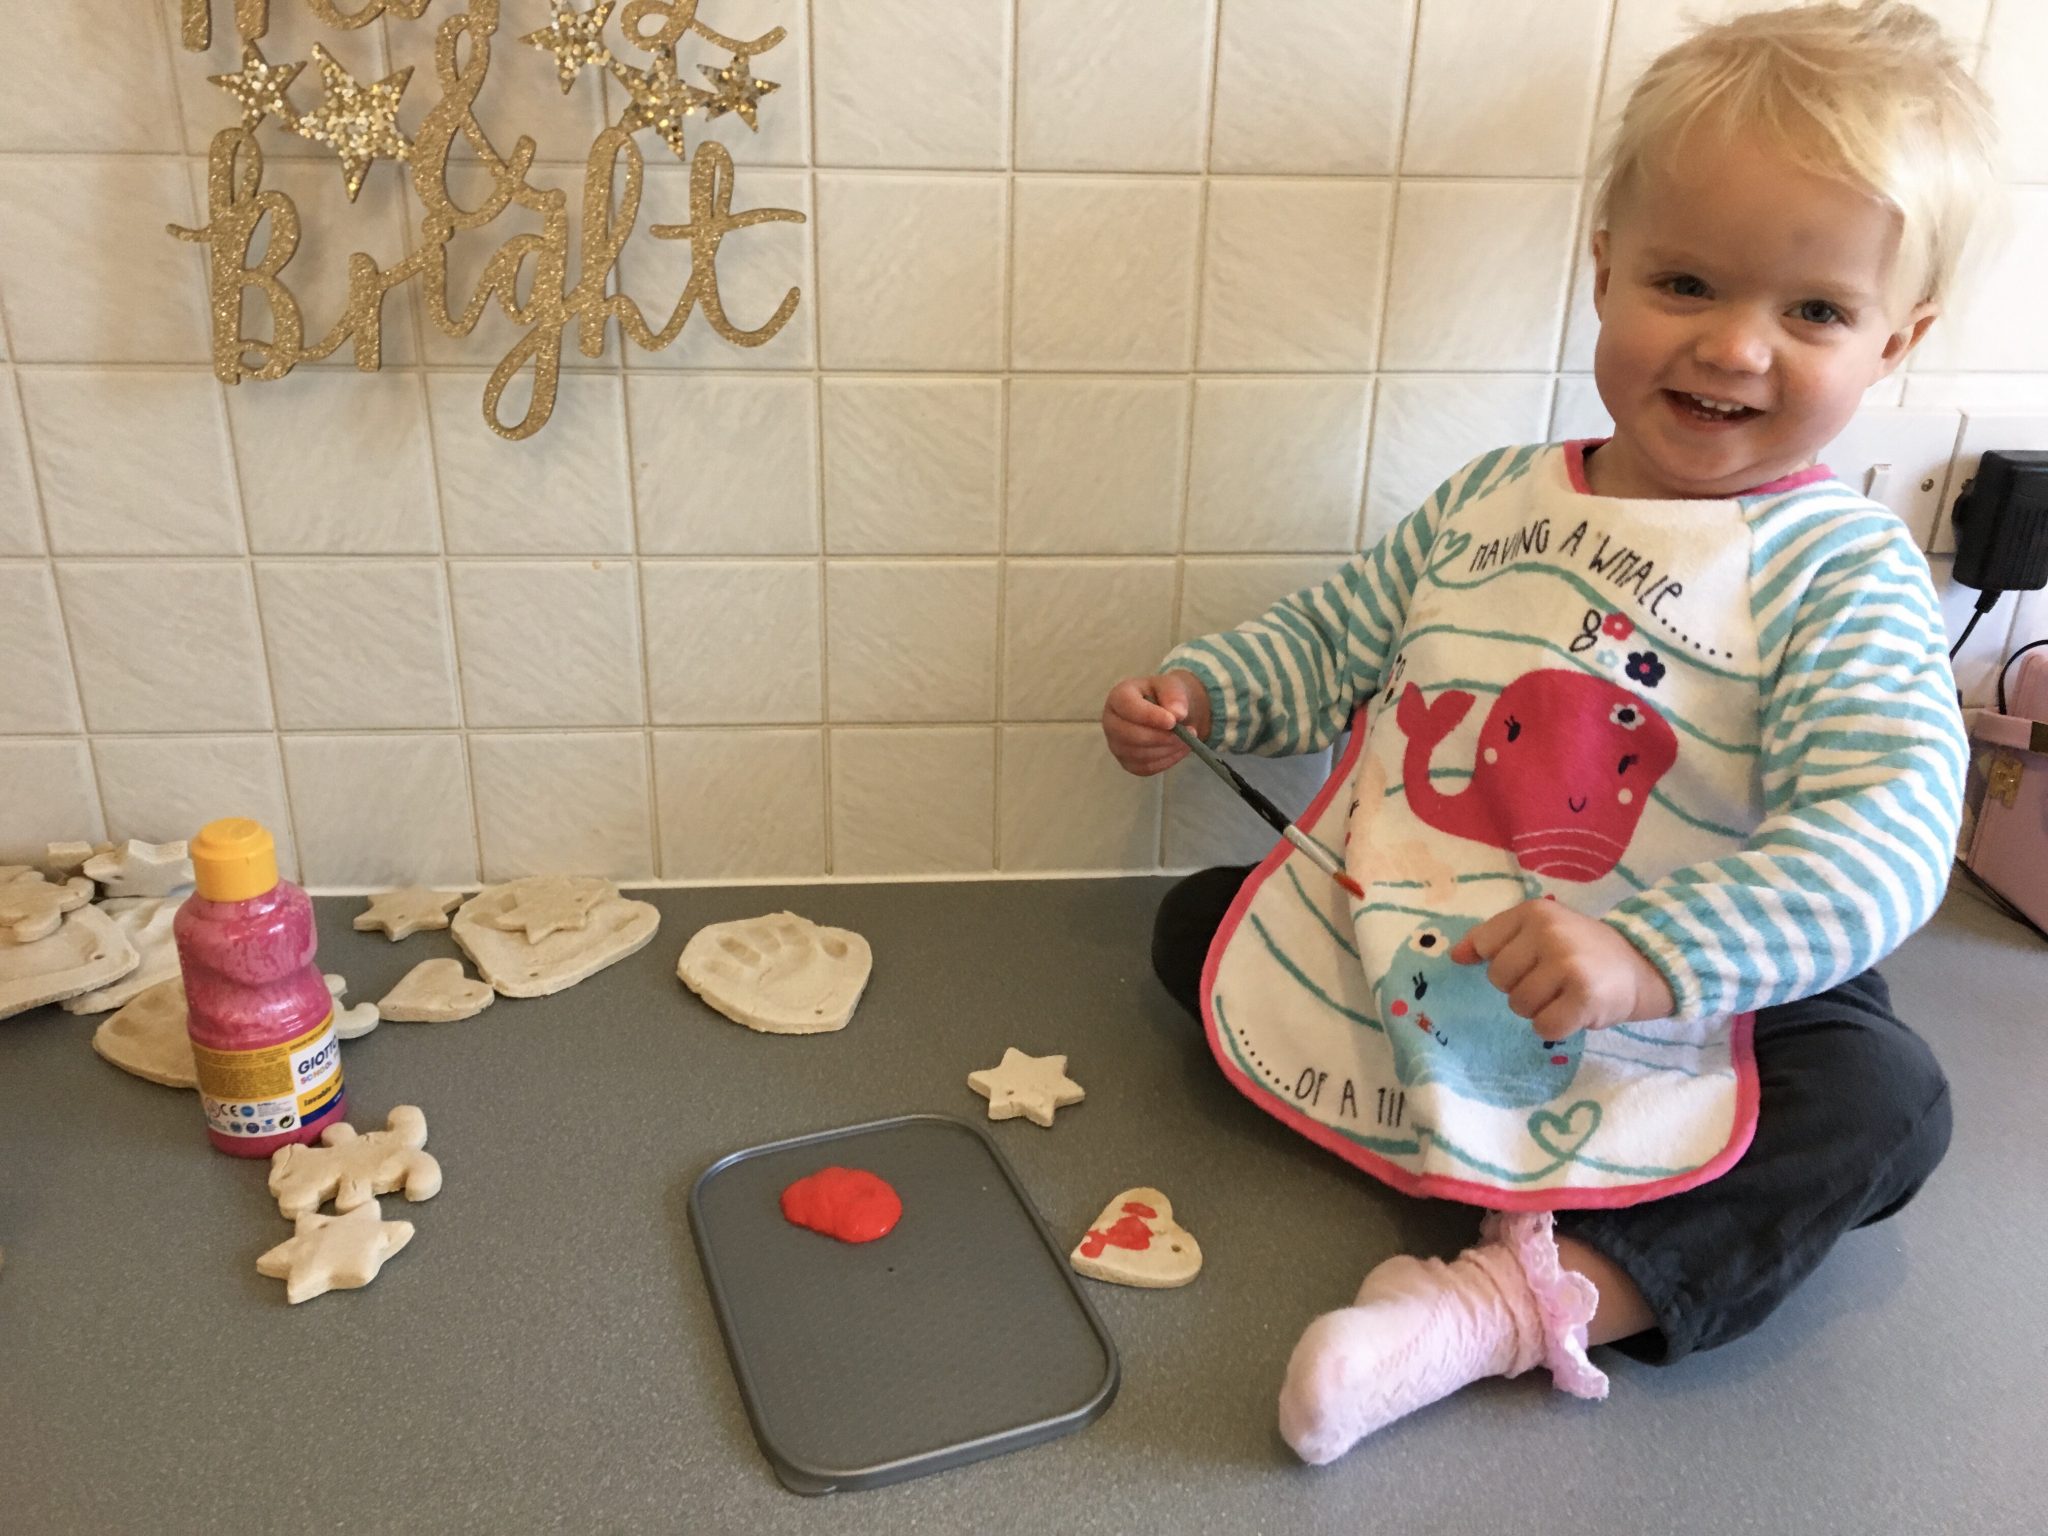
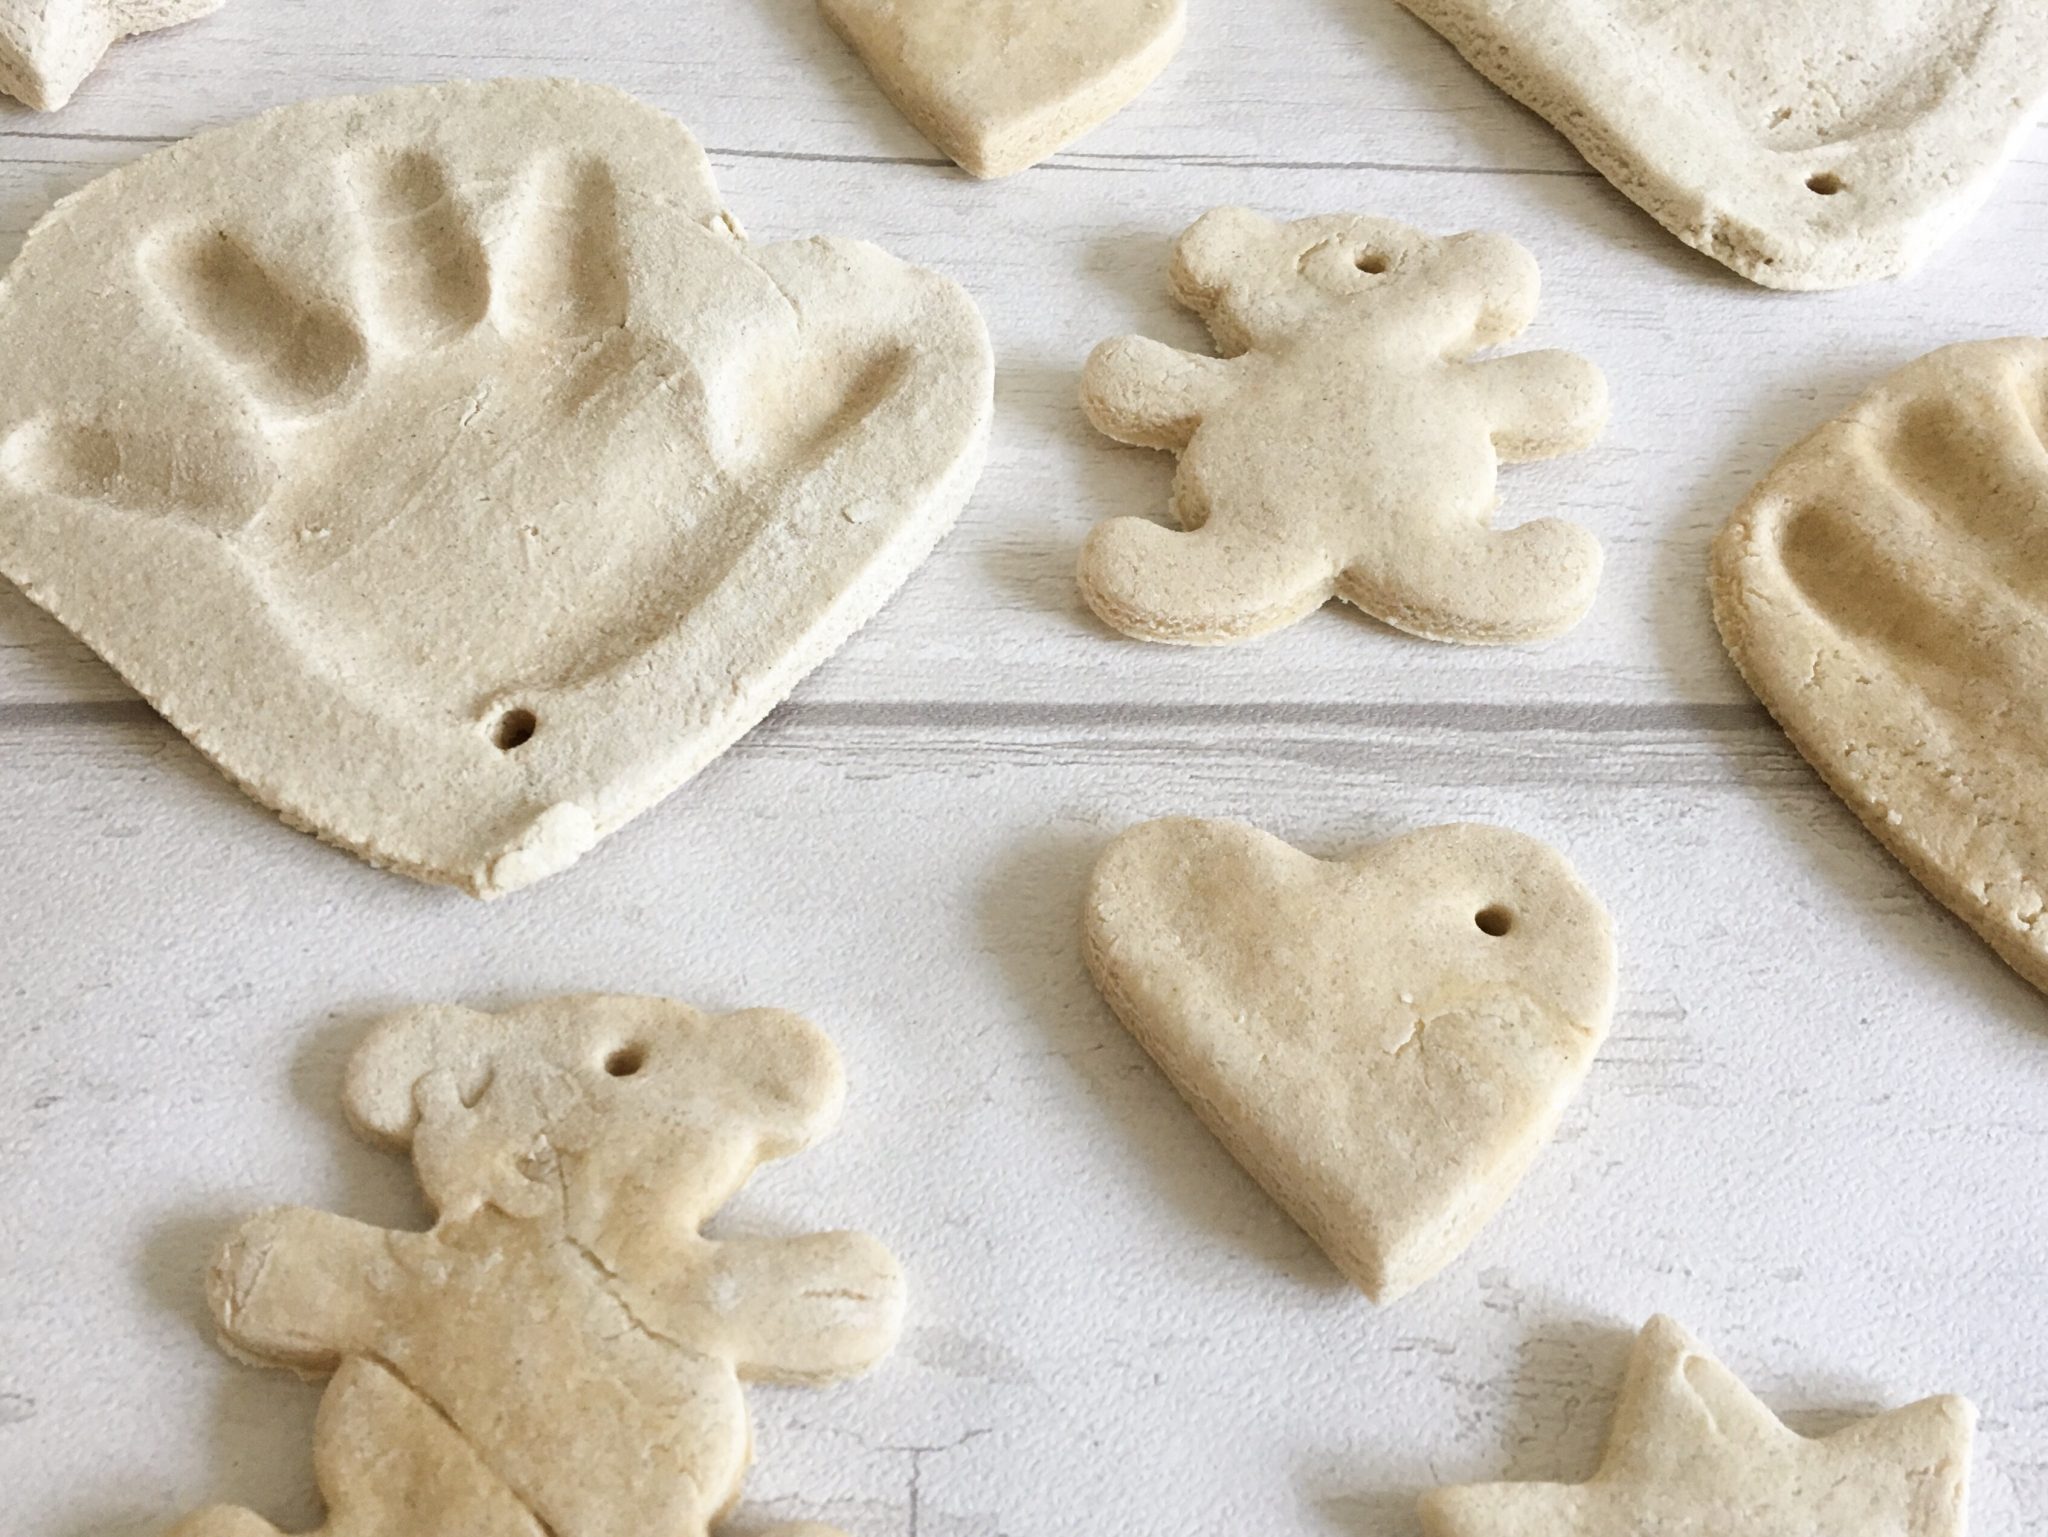
This year however we had much more success, Darcie absolutely loved helping me to make the dough. She sat up on the counter and helped me mix it and then roll it out. She loved using the cookie cutters to make all the different shapes and then was thankfully distracted by putting them all in and out of the container so that I was able to get on with putting the salt dough shapes on the baking trays and into the oven.There are a gazillion different salt dough recipes online and I never know which one to use. I’m going to include the recipe now in case it is useful for any of you and so I have it to go back to next year.
Recipe
125g Organic Plain White Flour
145g Salt
120ml Water
Splash of Oil
Method
Mix together the dry ingredients first and then slowly add the water until it forms a dough like consistency and then mix in a splash of oil. I found that I never quite put in the full 120ml of water so don’t pour it all in at once. The oil will help the salt dough not to get too dried out and crack in the oven.
I then put them in the oven at 120 degrees for approximately three hours. How long they take in the oven will depend on how thick you have rolled the dough and I would recommend checking on them every half an hour or so to make sure they don’t burn or crack. You could also dry them out simply by leaving them out on the side or on a warm radiator but that will take longer. You want to make sure they are totally dry before decorating them.
To decorate them we used:
Poster Paint
Glitter Glue
Glitter
Fast Dry Project Enamel (to varnish)
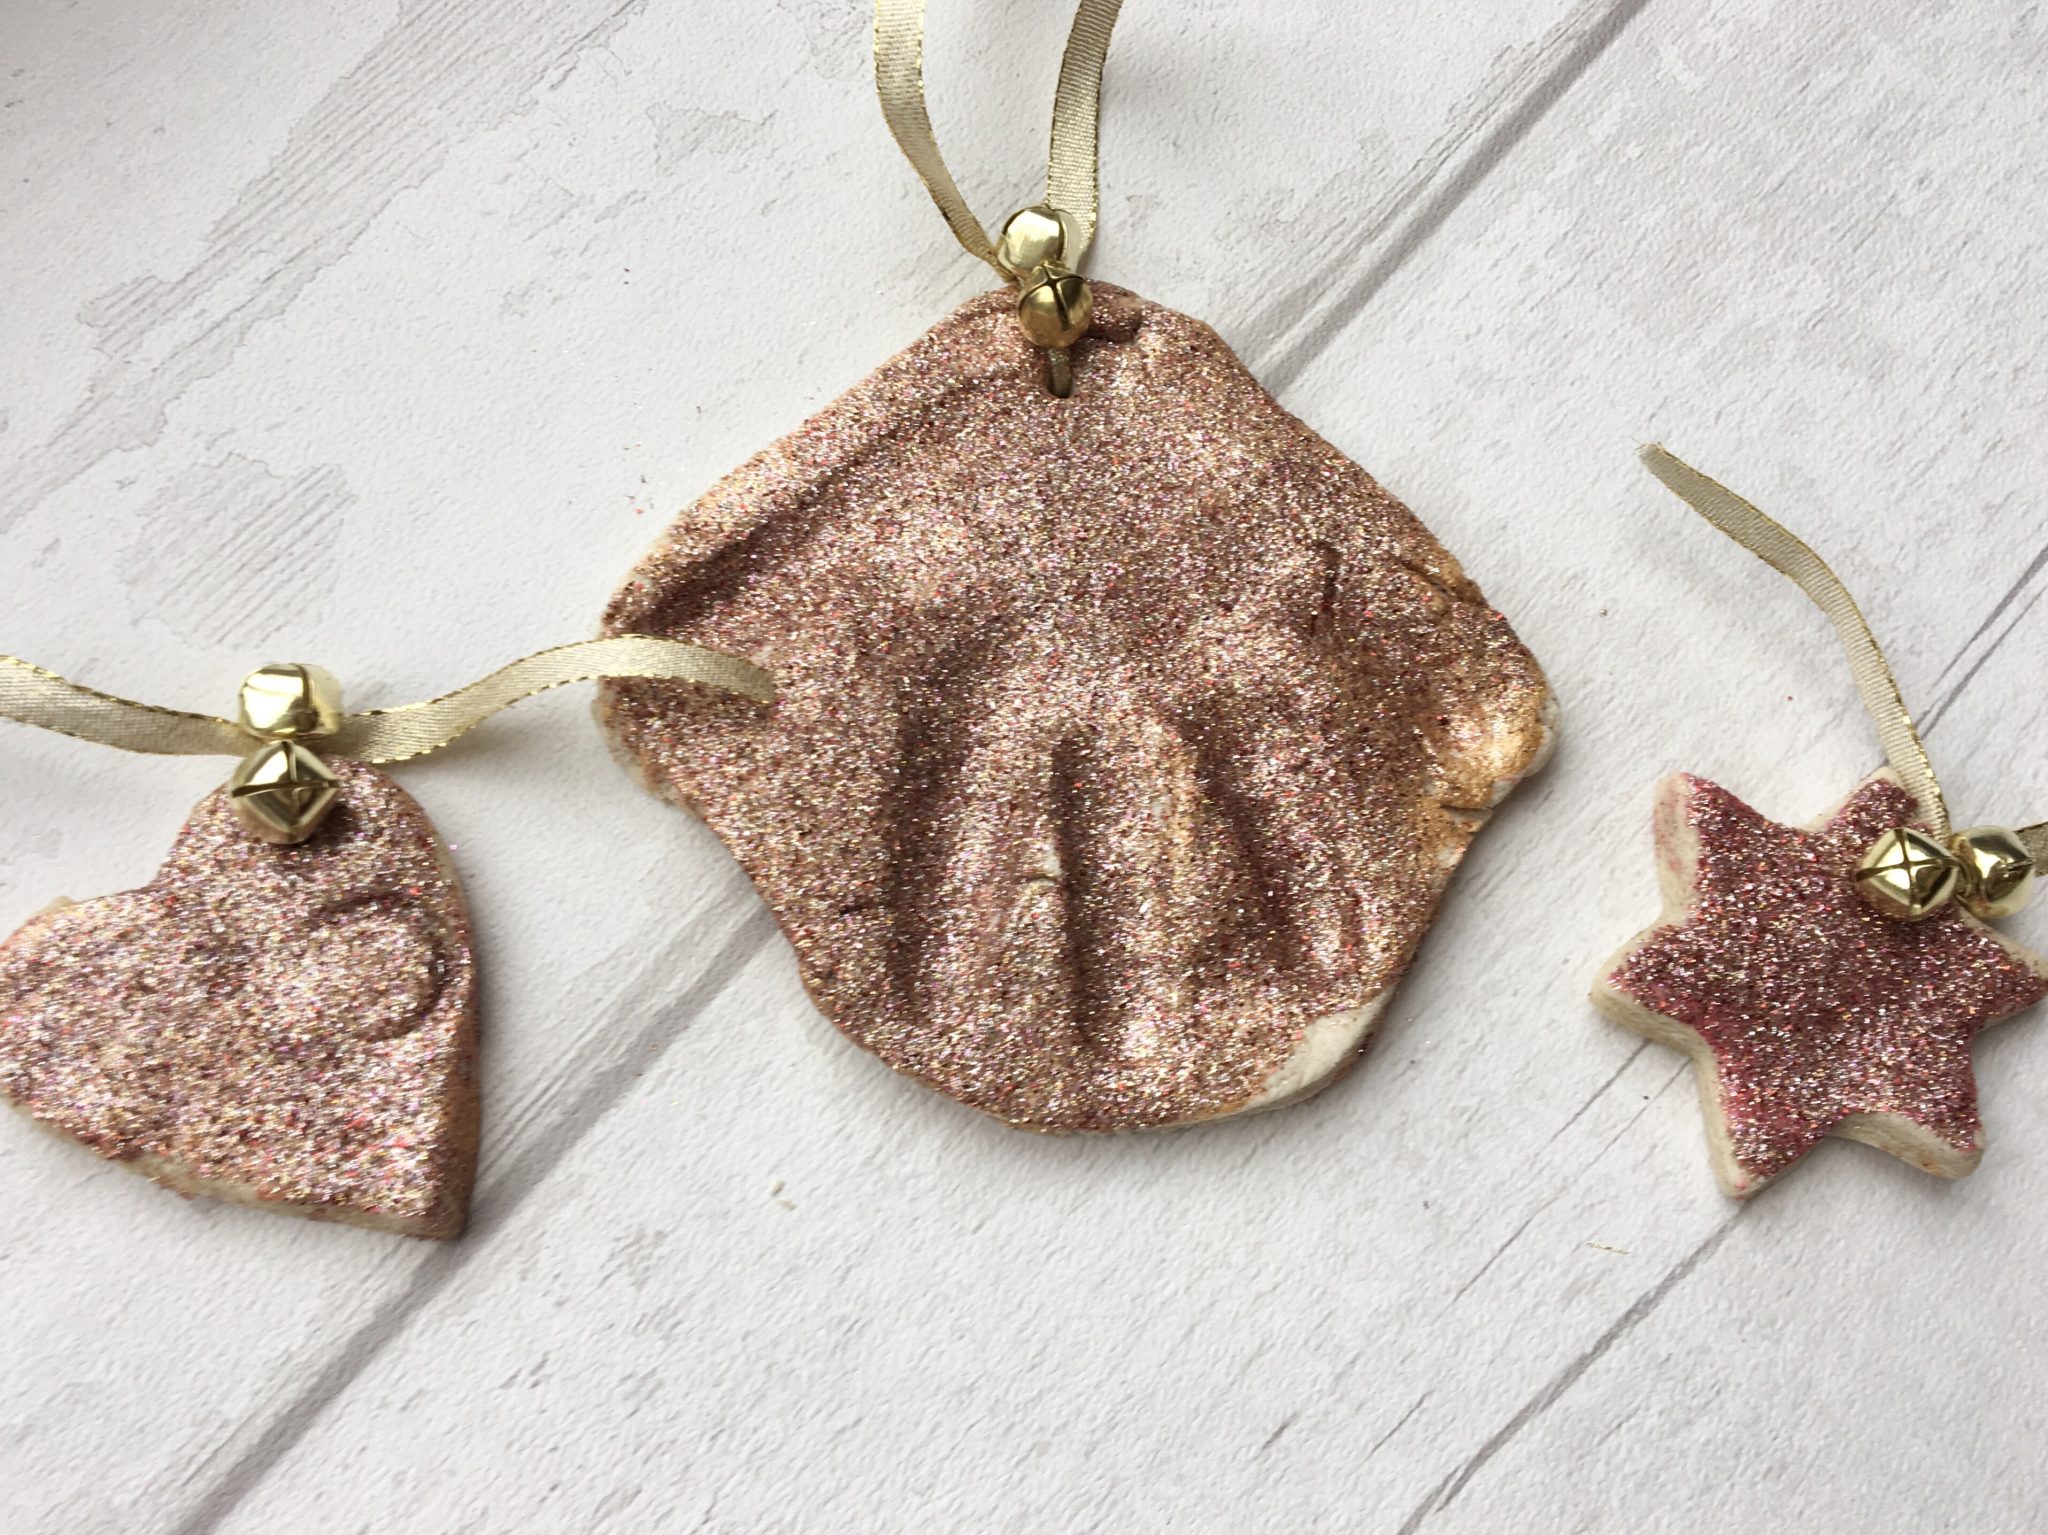
I’d seen it written online that acrylic paint is the best to use on salt dough but I didn’t want to fork out for a million different colours of acrylic when we have so much poster paint in the house anyway. It worked fine as far as I can tell, just don’t put too much on as you don’t want them to end up soggy. I basically left Darcie to her own devices with the decorating but as it turns out she is a huge fan of glitter so most of our ornaments are fully covered in it. I used the enamel to varnish them so that hopefully the glitter won’t shed everywhere. I then added little bells and some gold ribbon because I can’t help myself but go a little bit extra..
I’m so pleased that these were a success this year after the disaster we had a year ago so I’m looking forward to doing it again with her next year.